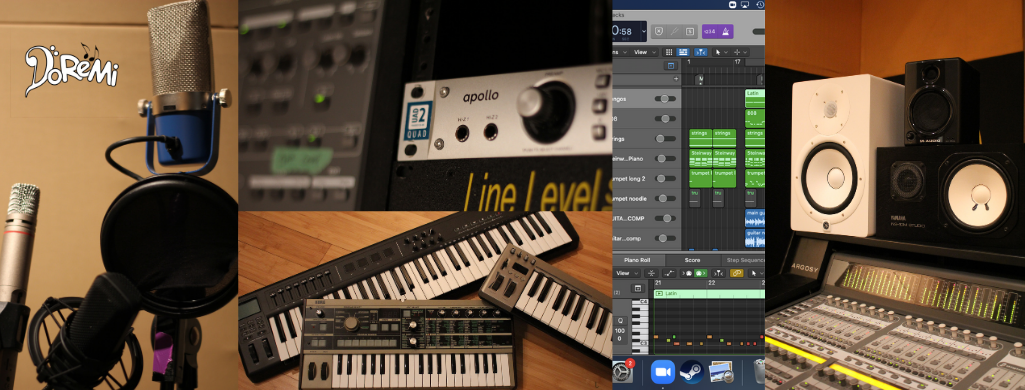
In this final installment of setting up your own home studio, we want to give you a quick overview of what you need, and what you should look for when choosing your gear. There’s a myriad of manufacturers and an unlimited list of equipment and incidentals to choose from. Deciding how to allocate a limited budget can be a daunting task. Sometimes it’s good to go with name brands, and sometimes it really doesn’t matter … for example, you don’t want to spend a lot of money on a great audio interface and then hook it up to a bad mic. We will share with you what we have here at the studio and in the school, and then we encourage you to do your own research. There’s a wealth of information available on the internet once you know what you are looking for!
Step One: Choosing a DAW
The DAW you choose will depend both on your operating system and on what you plan to do. Full reviews of the dozens of available Digital Audio Workstations already exist. Some DAWs are more affordable than others, and some are more user friendly.
The DAWs we use in the school and studio are considered among the bigger, more popular ones. That means they are often used by pro artists, they have big communities for support, and also have a number of online tutorials.
Logic Pro X:
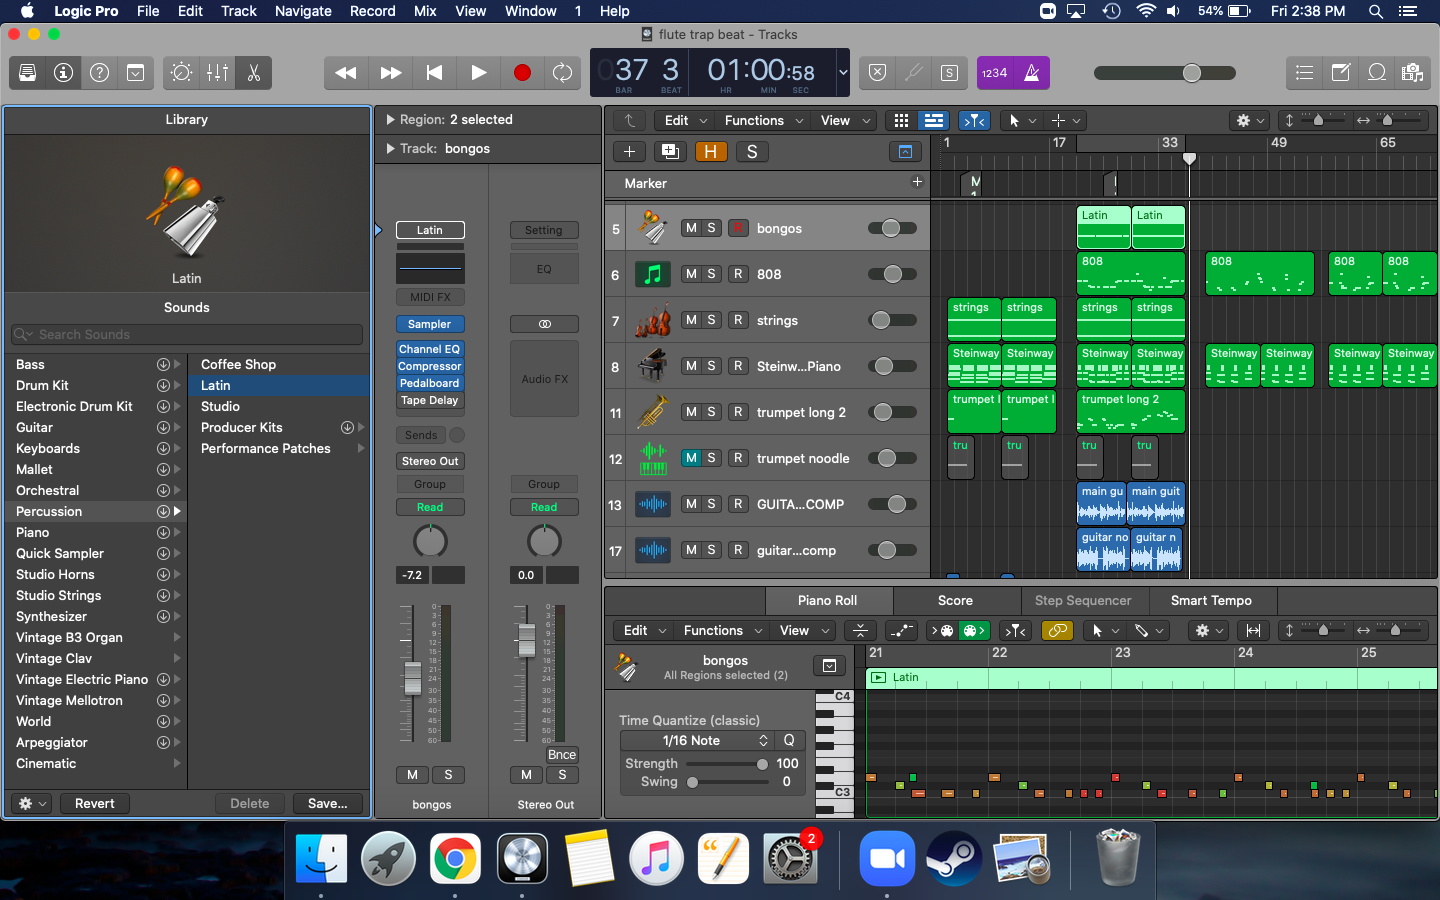 It might come as a surprise that one of the most capable, full-featured DAWs is also one of the most reasonably priced. Over the course of its existence, Logic has grown from a computer-based MIDI sequencer to a full multi-track production suite where you can record and edit audio, play virtual instruments, route sound through effects, and finally end up with a file ready for sharing or further refinement somewhere else.
Logic is very user friendly and a great DAW if you are a beginner. We use it in the school for our Introduction to Audio Production courses. It is great for recording things, and especially for getting your ideas down quickly.
One of the things we like most about Logic is how good the stock plugins are. Not just the synths and instruments, but the effects are also top-notch. It includes everything you need from delays, reverbs, compressors, distortions, amp simulators, equalizers, pitch correction and modulation type effects such as chorus and tremolo. Logic also has an incredible library of stock sounds and loops.
One potential caveat that you might want to consider with Logic is that it is a Mac only product, and it only supports plugins in Apple’s Audio Unit. In addition to this, Logic X only accepts 64-bit versions of these plugins, so if you are planning on upgrading your DAW and have any old plugins that have not been updated out of 32-bit, you will need converter software.
FL Studio
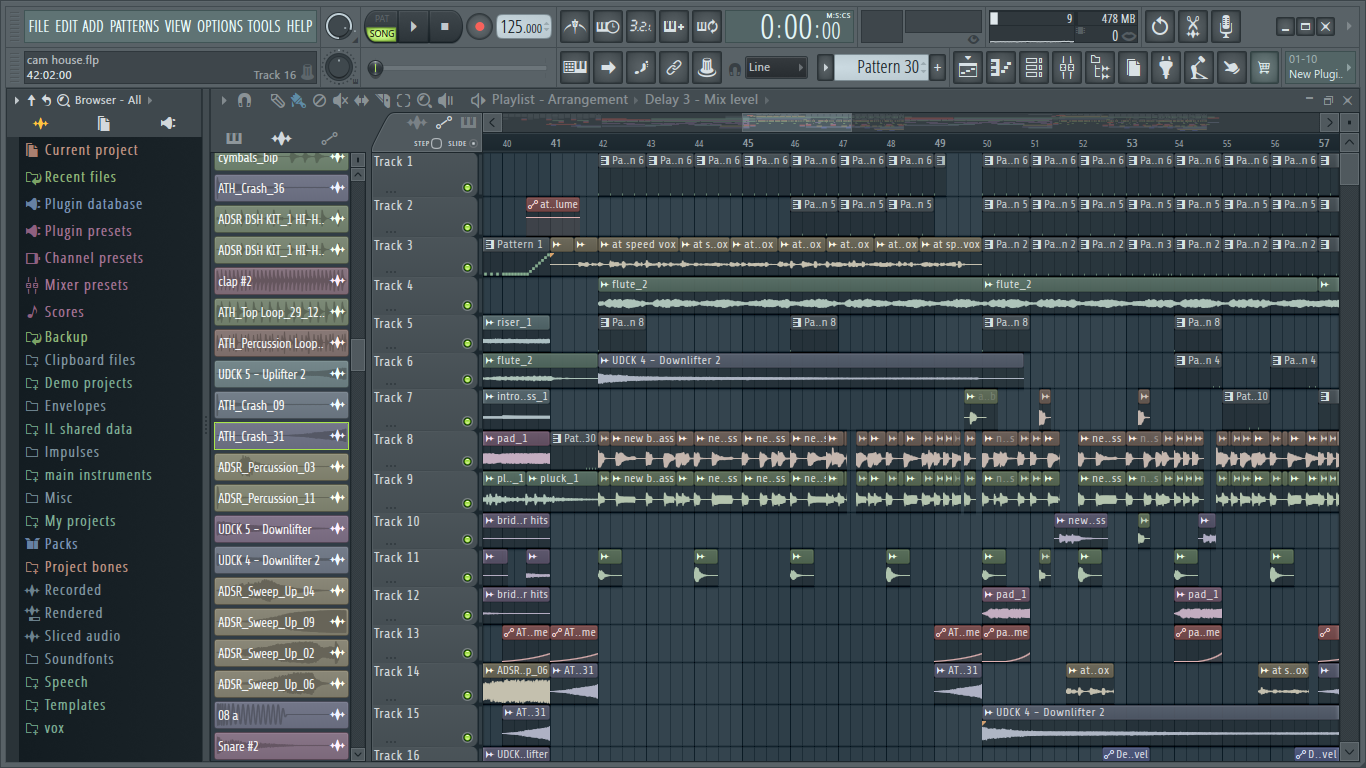
FL Studio has been around a long time. Back in the day it was called Fruity Loops (hence the “FL”). In those days the simplicity of the application was the draw. FL Studio is often underrated but it is definitely the sturdy underdog of the DAW world. It has finally overcome its original stigma to become a much beloved program used by industry leaders and promising beginners alike. It is sturdy and dependable, and its included plugins range from competent to superb.
Like most DAWs, FL Studio has several different editions of the product. All editions other than the “Fruity” edition are full DAWs, covering sequencing, mixing, synthesized audio, audio recording, and effects and plugins for each of those areas. When creating your own studio setup, we recommend the Signature edition; It has a solid selection of plugins and all the necessary production features.
FL Studio began as a beat maker. Over the years it has amassed a large collection of beats and loops that it provides as part of the application. Now with version 12, FL offers more included plugins and virtual synths than any other DAW at the same price point. On the downside, additional plugins can become costly quickly, and FL Studios is available only for PC/Windows.
FL Studios is also our PC-based DAW of choice in the school. It is a great go to for beginners who prefer to work on a PC rather than a Mac. One of our favourite features is the sequencer window, making it an exceptional choice for creating EDM/dance/club music. Although it is possible to record live with this DAW, the process is not as intuitive as with some of the others.
Ableton Live
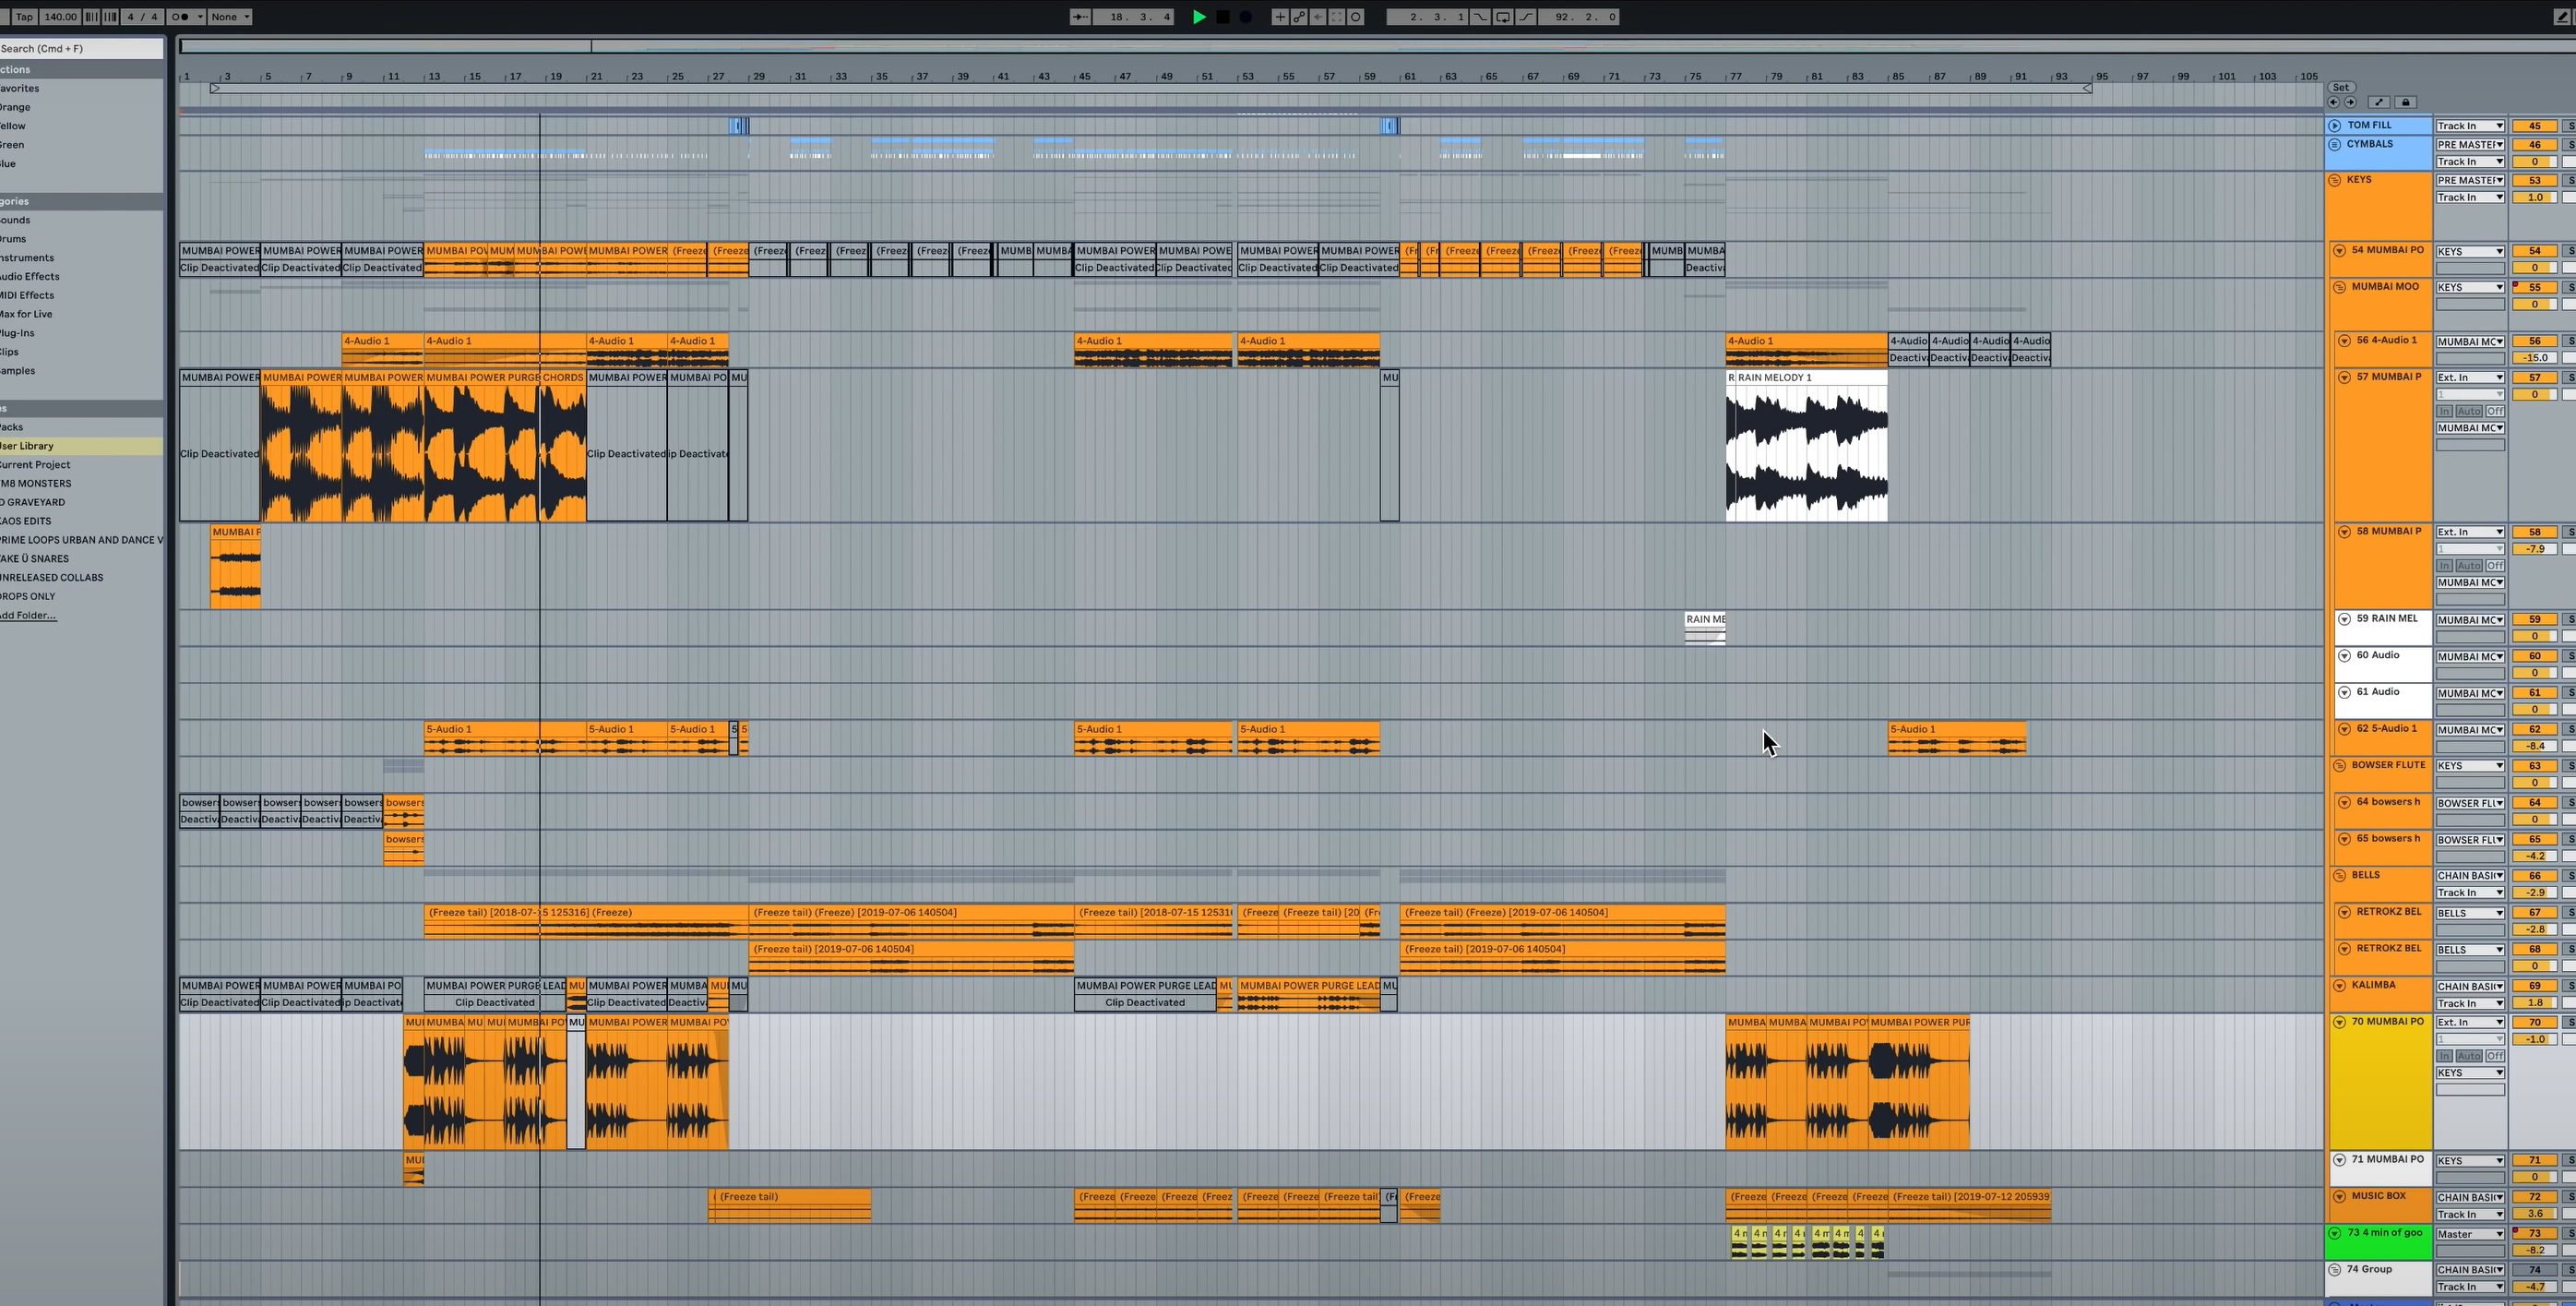 Ableton is one of the most popular DAWs around. It is the undisputed master for both MIDI handling, and live performance. It is a powerful DAW that provides excellent resources for both producing tracks or performing them live, making it an attractive tool for producers, DJs, and other live performance artists. The live performance capabilities are what differentiate Ableton from the other DAWs. It is easy to launch and loop clips, add effects, and remix original tracks live in front of your audiences.
The Intro version is extremely affordable, and there’s no major OS exclusivity. Unfortunately, the Intro version is limited and lacking, and the price jump from Intro to Standard is steep. Ableton is not as stable and beginner-friendly as others on this list. The interface is not as intuitive, and although the creative possibilities are endless when you learn to use all of the included features and libraries, there is a much greater learning curve. For that reason, it is not our DAW of choice at the school.
Pro Tools
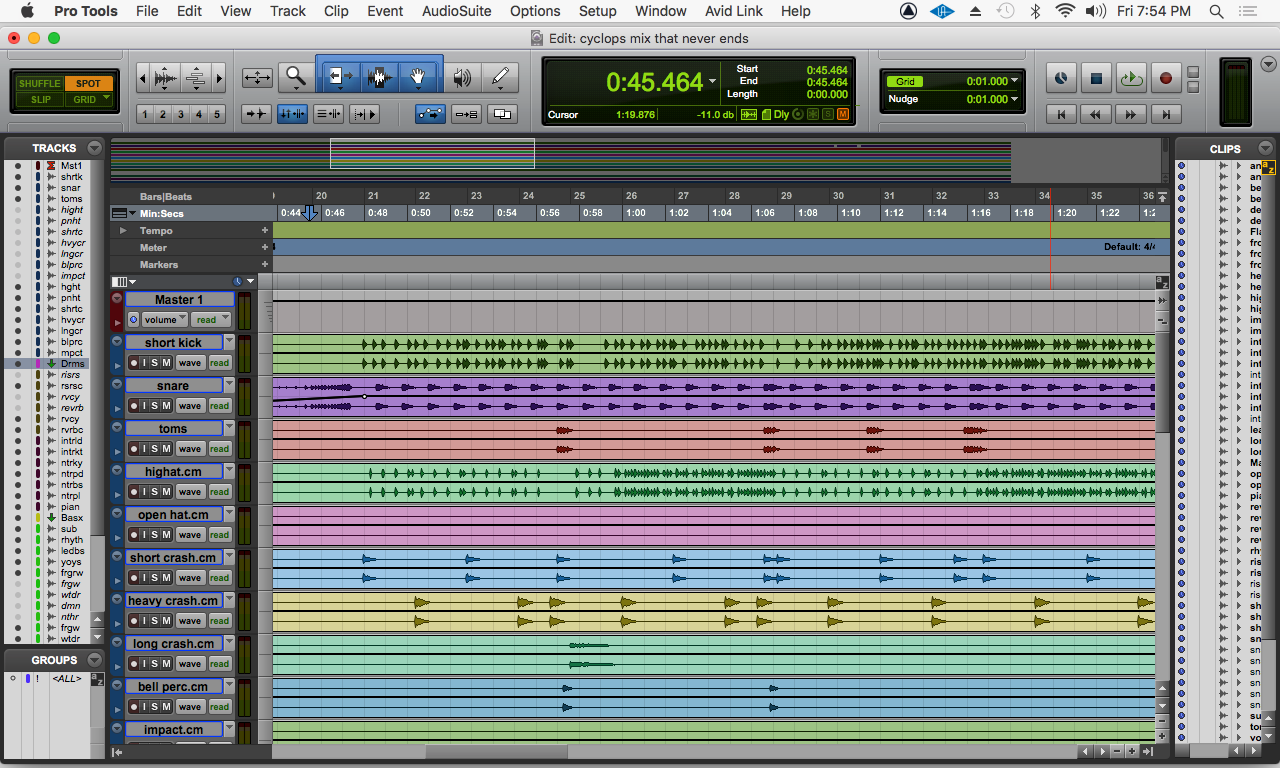
Although not usually on the list of DAWs to be used in a home studio, Pro Tools is the industry standard. The history of Pro Tools goes back over 30 years, and for a long time, it dominated the market for DAWs. It was developed by UC Berkeley graduates Evan Brooks, who majored in electrical engineering and computer science, and Peter Gotcher who was also a drummer and audio engineer.
Pro Tools is not a particularly good choice for beginners. The original design by an engineer is still evident, and it is not easy to learn to use. However, it does have extreme routing capabilities and is exceptional for mixing. Every professional studio, including ours, will be using Pro Tools.
The full version of Pro Tools is Mac based and expensive. The free version, Pro Tools First, can be a good introductory step to get familiar with the software without making an investment, but it has a lot of limitations. Pro Tools First does not include the same features and options found in the paid versions. The free version limits the number of projects, sample rates, tracks, virtual instruments, and inputs. and while it may not be practical for daily music making it could be a good way to become familiar with the DAW if audio engineering is something you plan to pursue.
Plugins
 Every DAW comes with a set up stock plugins. A plugin can be any effect such as a special type of distortion, reverb or Auto-Tune, or an instrument like a virtual piano. Most popular plugins can be used with any DAW. Some of the higher quality ones need to be purchased, but there are a lot of amazing plugins available as free downloads.
Check out our recent blog for our pick of the top 5 free plugins.
Step Two: Choosing Your Mics
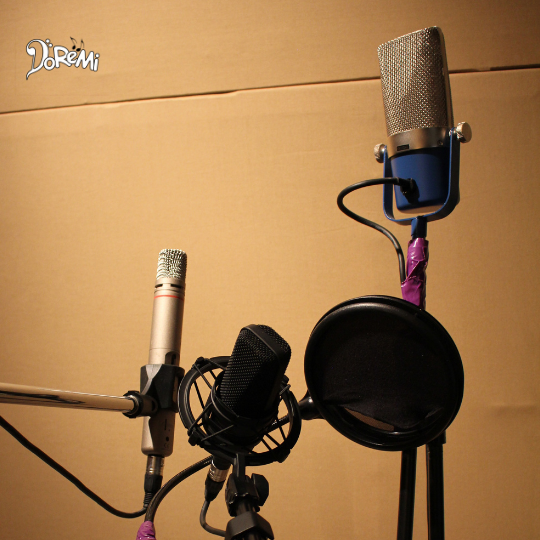
This is one of the most important considerations when setting up your studio, as the quality of the mic determines the quality of the sound you get to work with. The price range for mics is also enormous. It can range from a couple of hundred dollars for a good all-purpose dynamic mic, to a few thousand for a good ribbon mic. You will want to match the mic to both what you want to do with it and where you will be using it.
When choosing a mic, you need to consider both frequency response and polar pattern.
Frequency Response
A microphone’s frequency response refers to the range of frequencies in sound, that a microphone will pick up. This range is measured in Hertz, from lowest to highest frequencies. A microphone with a frequency response range of around 80 Hz to 15 kHz would make a good choice for a vocal mic. However, for snares and toms, you would look for a range that starts lower, at around 50 Hz, and for a bass drum mic, you will want a low end of 40 Hz or even lower, down to 30 Hz.
Remember, you can’t work with frequencies you haven’t recorded.
Polar Pattern
The polar pattern is the shape of a mic’s field of sensitivity, or the directions from which it accepts or ignores incoming sounds. An omnidirectional mic, for example, responds to sounds coming from all directions. A unidirectional mic primarily hears sounds from one direction and excludes sounds from other directions. This is the most common type.
Dynamic vs Condenser
 There are two basic types of mics, dynamic mics and condenser mics, each with their own pros and cons. Dynamic mics are more rugged and less expensive. Condensers are more sensitive and accurate, especially with the lower sounds, but are also more delicate and more expensive. Ribbon mics, which are a type of condenser mic, have the greatest frequency response and can be the most delicate and can come with a very high price tag. While dynamic mics don’t require a power source, condenser microphones use an external power supply, internal batteries, or phantom power supplied by the mixer input.
Name Brand or Not?
Because the quality of sound you record is so important to your end result, we suggest sticking with the established, big-name companies that make professional mics. Many of them have lower-priced models that deliver surprisingly good sound. The more you spend directly correlates with the quality of your recordings, so it is best to avoid the very lowest-priced models. Starting at around $100, you can find condenser recording mics that serve very nicely in home recording studios.
 The most iconic mic of all time, and the best choice for an all-purpose dynamic mic is the Shure SM57. We have several around the studio and school. The large diaphragm condenser we use for vocals and acoustic instruments is the AT4033. While we do have some ribbon mics, our students are afraid to break them so we leave those to the professional engineers.
Microphone Accessories
Things like mic stands and cables are essential. Another important accessory to consider is a pop filter for your mic. If you are on a tight budget, you can make one with a clothes hanger and some panty hose!
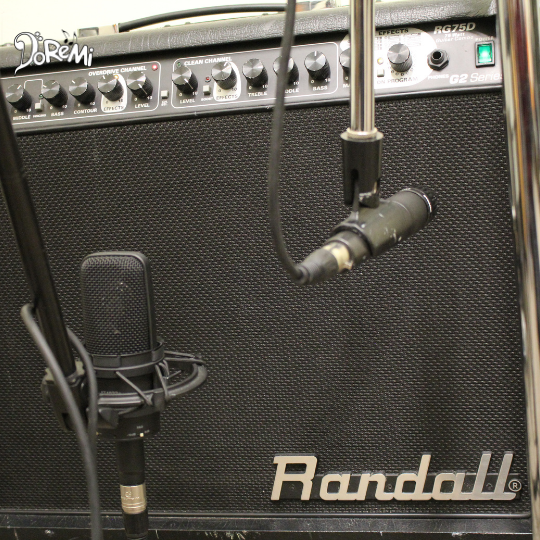
Step Three: Choosing an Audio Interface
 An audio interface is a studio essential. It enables you to control the audio going in and out of your computer. That means both the capturing or recording of vocals, instruments or other sources of sound, and then outputting the audio either to external studio monitors or headphones. By using an audio interface, you’re taking the burden of processing that signal away from the computer, allowing you to record without latency – that noticeable gap between picking a note on your guitar and your ears actually hearing it – while also gaining physical, tangible control over your audio through various knobs, faders and controls. An audio interface will also enable you to record multiple sources at the same time, and give you control over the routing of your audio.
While essential, this isn’t necessarily to place to blow the budget. Basically, you need to make sure your audio interface has enough inputs for what you are recording.

The range in price and capabilities here are also enormous. You can get a great beginner audio interface, such as the PreSonus Studio 24c for around $200. If cost is not your concern, you could go with what we have in the studio: the Universal Audio Apollo. It boasts four incredible preamps, some of the finest A/D D/A converters you’ll find outside the realms of pro studios, along with a comprehensive suite of plugins to help you when it comes to editing, mixing and production. It’s not cheap, but the Apollo will have an instant impact on your recordings.
Step Four: Choosing Studio Speakers
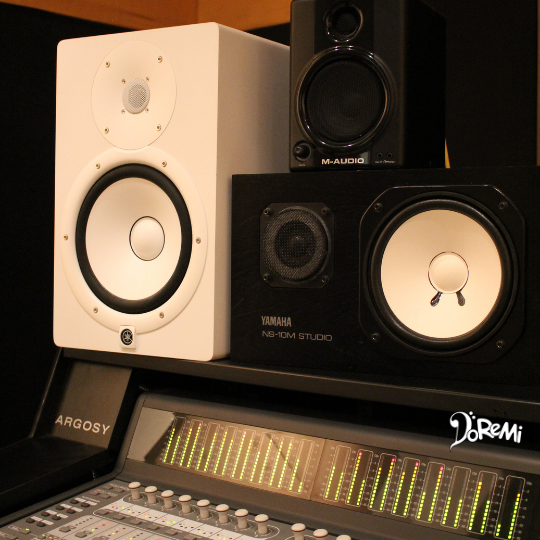 You can’t mix on commercial speakers … they are pre-designed to make your music sound good. Proper studio monitors will allow you to hear what you are mixing clearly so you can correct mix decisions. Your mixes will need to sound good in almost any environment and on practically any stereo system, whether it’s in a car, grocery store, or on a CD in someone’s living room.
The primary role of good studio monitors is to give you an accurate, uncoloured and transparent picture of the music you are creating. Good monitors will provide a flat frequency response across the entire frequency spectrum. In the studio, we use the Yamaha NS10, which is renown for being very accurate and dry. If you can make your mix sound good here, it will sound good pretty much anywhere.
Additional studio monitors will have tweeters (treble speakers designed to reproduce high frequencies), and woofers (bass speakers designed to reproduce lower frequencies down to about 40 Hz). In addition to the NS10s, we have a set of “good” speakers, Yamaha HS8s, and a set of very bad ones, not much better than desk top speakers.
Should I Get a Subwoofer?
A subwoofer is a specialized woofer solely designed to handle bass reproduction, 30Hz or lower. The use of a subwoofer when mixing requires a properly treated room with bass traps, diffusers, and other sound control products. Without these acoustic treatments, the bass frequencies will overpower your studio and negatively affect your mixes.
We would suggest leaving a subwoofer out of your studio equation for now. The best place to check your mix for bass is in the car!
Step Five: MIDI Controller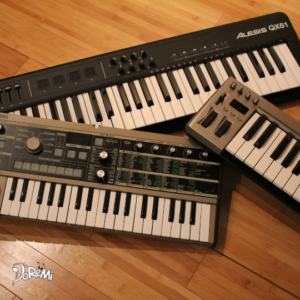

The final piece of equipment we would suggest you get for your studio is a MIDI controller. While not essential, it can save a lot of time and effort not having to do everything with the mouse.
Unless you are a pianist, and you expect to record full pieces with both hands, you don’t need anything fancy or expensive. For the school, we use the Masterkey 25 USB controller keyboard, but there are a number of viable options which can be purchased for under $100.
Ready to go
Whether you are a beginner or a seasoned pro, creating your own music is an amazing adventure! We wish you the best of luck on your journey. Let us know if our tips have been useful, and check out our line up of courses if you need some help along the way.